
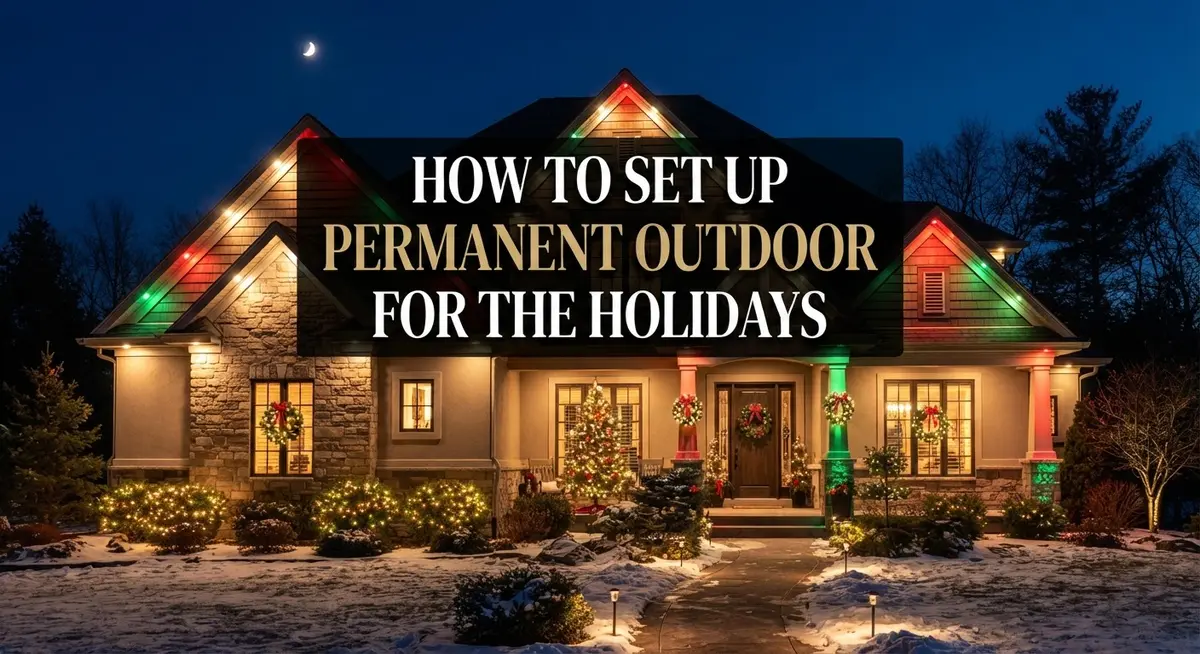
How to Set Up Permanent Outdoor Lights for the Holidays: A Complete Installation Guide
Holiday lights don’t have to mean tangled strands and yearly ladder trips. Permanent outdoor lights let you enjoy festive colors without the yearly hassle.
These fixtures stay on your house all year. You control them for holidays, seasons, or any special event.
Setting them up the right way makes all the difference. Poor planning leads to uneven spacing and lights that fail in bad weather.
This guide walks you through the entire process. You will learn where to place your lights and how far to mount them from your wall.
We cover power management too. You need the right outlets and a plan that keeps your transformer safe from overload.
Weatherproofing matters more than most people think. We explain which materials hold up and which mistakes to avoid.
By the end, you will know how to create a professional looking display. Your lights will stay secure through wind, rain, and snow.
Ready to skip the yearly setup struggle? Let’s get your permanent lights installed the right way, step by step.
In a Nutshell
Here’s your quick roadmap to permanent outdoor holiday lights:
-
Plan first, install second. Map out where every light will go before you touch a ladder. This saves time and prevents mistakes later.
-
Keep spacing consistent. Use a spacing block or template so each light sits the same distance apart. This small step creates a polished, even look.
-
Mount lights properly. Place fixtures about 5 to 10 centimeters from your wall. Secure them with gutter clips or zip ties for a strong hold.
-
Choose weatherproof gear. Pick fixtures and connectors rated for outdoor use. Skip anything that isn’t built to handle rain or snow.
-
Set up smart power. Install a weatherproof outlet, ideally under the eaves. Connect everything to a timer so your lights turn on and off automatically.
-
Watch your electrical load. Don’t overload your transformer or wiring. Check the capacity before adding more lights to the circuit.
Follow these basics and you’ll get a display that looks great and lasts for years.
What Are Permanent Outdoor Holiday Lights?
Permanent outdoor holiday lights are fixtures that stay installed on your home year round. Unlike traditional string lights you hang up and take down each season, these systems remain in place through winter, spring, summer, and fall. You simply turn them on when the holidays arrive and off when the season ends.
These lights use weatherproof materials built to handle rain, snow, wind, and temperature changes. The fixtures, wiring, and connectors all resist moisture and UV damage. This durability means your setup lasts for many years without deteriorating.
The core difference between permanent and temporary lights is the installation method. Permanent systems mount securely to your home using clips, brackets, or fasteners. They connect to a dedicated power source, usually a weatherproof outlet installed under your eaves or soffit. Temporary lights, by contrast, plug into standard outlets and come down after the holidays.
Professional appearance comes from consistent spacing and proper placement. Permanent lights sit at uniform distances from each other, typically 5 to 10 centimeters from your wall surface. This spacing creates clean lines that look intentional and polished.
Most permanent systems include a timer or controller. This device lets you automate when your lights turn on and off without manual effort. Some controllers offer dimming options or color-changing features depending on the system type.
The main advantage is convenience. You eliminate the annual ladder work, untangling, and storage hassles. Your display stays protected from weather year round. Setup each holiday season takes minutes instead of hours.
The investment upfront costs more than temporary lights. However, the time saved and longevity make permanent systems worthwhile for homeowners who want reliable holiday displays. You get a professional look without the seasonal struggle.
Planning Your Layout Before Installation
Planning your layout before installation saves time, money, and frustration. Start by walking around your home and identifying where you want lights to appear. Common spots include rooflines, along gutters, around doorways, and down fence posts.
Sketch a simple diagram of your house. Mark each area where you plan to install lights. This visual map helps you count how many fixtures you need and prevents buying too many or too few.
Measure distances carefully. Note the length of each roofline, the height of your walls, and the distance between mounting points. These measurements guide your spacing decisions and help you plan your power source placement.
Consider your viewing angle. Lights look best when seen from the street or main approach to your home. Position fixtures so they’re visible from where guests will see them most. Avoid placing lights where trees or structures block the view.
Think about power access next. Identify where weatherproof outlets exist or where you can safely install them. Outlets under eaves work best because they stay protected from rain and snow. Plan your wire routes to avoid high traffic areas where people might trip.
Check your electrical capacity too. Count the total wattage of all lights you plan to install. Make sure your home’s electrical system can handle this load without overloading circuits or transformers.
Mark your spacing intervals. Consistent distance between lights creates a polished, professional look. Decide on your spacing (often 15 to 30 centimeters apart) and note this on your diagram. This planning step ensures even placement once you start mounting.
Finally, take photos of your marked areas. These images serve as reference guides during installation. They remind you of your original vision when you’re up on a ladder making decisions.
Good planning now means smooth installation later.
Step-by-Step Installation Process
Now that you have your plan mapped out, it’s time to start the actual installation. This process moves quickly when you stay organized and follow each step in order.
Start by gathering all your materials in one spot. You’ll need your fixtures, weatherproof connectors, mounting hardware, a drill, and your spacing template. Having everything ready prevents frustrating trips back inside.
Next, locate your weatherproof power outlet. If you don’t have one yet, install it under your eaves where water won’t reach it easily. This protects your electrical connection from rain and snow. Run your main power cable from this outlet along your planned route.
Use your spacing template to mark exact positions for each fixture. Hold the template against your wall and make small marks with chalk or tape. This ensures every light sits the same distance from the wall and from its neighbors.
Mount your first fixture using the appropriate hardware for your wall type. Gutter clips work well for gutters, while weatherproof anchors suit siding. Secure it firmly but don’t over tighten, as this can crack plastic fixtures.
Connect your second fixture to the first using weatherproof connectors rated for outdoor use. Avoid connectors not designed for moisture exposure. Work your way down the line, checking spacing as you go.
Secure all cables to your wall or gutter using zip ties or clips rated for outdoor weather. Leave some slack in the cable so it doesn’t pull tight during temperature changes.
Once all fixtures are mounted and connected, plug in your main power cable. Test each light to confirm it works. Install your timer or controller according to its instructions.
Finally, hide any exposed wiring behind gutters or trim when possible. This keeps your display looking clean and protects cables from direct sun exposure.
Power Management and Weatherproofing Essentials
Power management is the backbone of any permanent outdoor light system. You need a dedicated weatherproof outlet to safely power your display. Install this outlet under your eaves or soffit where rain cannot directly hit it. This location protects the outlet while keeping your power cord away from ground moisture and foot traffic.
Check your home’s electrical capacity before installation. Most permanent light systems draw significant power, especially if you’re running multiple strands. Count the total watts your lights will use, then verify your circuit can handle it. Overloading a circuit creates fire hazards and damages your equipment.
Use a timer or smart controller to automate your lights. These devices turn your display on and off at set times without manual effort. Many controllers include weather sensors that automatically adjust brightness during rain or snow. This feature extends bulb life and reduces energy waste.
Weatherproofing protects your investment from the elements. All connectors must be rated for outdoor use and moisture exposure. Avoid connectors designed for indoor applications, as they corrode quickly outdoors. Seal any exposed connections with weatherproof caps or covers.
Cable management matters more than people realize. Run your main power cord along gutters or under trim to keep it out of sight and protected. Use outdoor rated zip ties or clips to secure cables every two feet. This prevents wind damage and keeps cables from sagging or pulling on fixtures.
Ground your system properly for safety. Most permanent systems include a ground wire that must connect to your home’s grounding system. Poor grounding increases shock risk during storms or wet conditions.
Test everything before the holiday season arrives. Plug in your system during daylight and check that all lights function. Look for loose connections or damaged cables. This early testing catches problems while you still have time to fix them before guests arrive.
Achieving Professional-Looking Spacing and Alignment
Getting your lights evenly spaced and aligned takes planning and the right tools. Start with a spacing block or template that matches your desired distance between fixtures. This simple tool prevents guesswork and ensures every light sits exactly where it should.
Measure your total installation area first. Divide this length by your planned spacing to find how many lights you need. For example, if you have 20 feet of roofline and want lights 2 feet apart, you’ll need 10 fixtures. This math prevents awkward gaps at the end.
Mark each position with tape or chalk before you mount anything. Walk back and look at your marks from street level. Your eye catches spacing problems better than measurements do. Make adjustments now rather than after installation.
Mount your lights 5 to 10 centimeters from the wall. This distance lets air flow behind fixtures and keeps them from looking pressed flat against your house. Use a small spacer block to maintain this gap consistently along your entire line.
For horizontal lines, use a level string between two points. Snap it like a chalk line to create a guide. Vertical installations benefit from a laser level that projects a straight line across your wall. These tools take minutes to set up but save hours of frustration.
Secure your template or spacing block to your gutter or wall with temporary clips. This keeps it steady while you work and maintains accuracy. Remove it once all fixtures are mounted.
Check your alignment from multiple angles. Stand at different distances and look at your lights. Professional spacing appears obvious from the street. If something looks off, adjust before connecting power.
Take photos of your finished layout before adding cables. This visual record helps if you need to troubleshoot later or make adjustments next season.
Common Mistakes to Avoid
People make several costly errors when setting up permanent outdoor holiday lights. Understanding these mistakes helps you avoid frustration and wasted money.
Choosing non waterproof fixtures tops the list of common errors. Outdoor conditions expose lights to rain, snow, and extreme temperatures. Fixtures designed for indoor use will fail quickly outdoors. Always verify that your lights carry weatherproof or waterproof ratings before purchasing.
Using incorrect connectors creates another frequent problem. Standard connectors allow moisture to seep into connections, causing short circuits and safety hazards. Weatherproof connectors are specifically designed to keep water out and maintain electrical safety.
Overloading your transformer happens when people connect too many lights to a single power source. Each transformer has a maximum wattage capacity. Exceeding this limit causes the system to fail or creates fire risks. Calculate your total power needs before installation begins.
Poor attachment methods lead to lights falling during storms or heavy snow. Relying on nails, regular tape, or weak clips won’t hold through winter weather. Use hardware rated for outdoor conditions and your specific wall or gutter type.
Inadequate planning before installation wastes time and creates messy results. Rushing to mount lights without measuring leads to uneven spacing and crooked lines. Spend time mapping everything out first.
Ignoring cable management leaves wires exposed and creates tripping hazards. Unsecured cables also deteriorate faster from UV exposure and weather damage. Secure all wiring with outdoor rated clips or ties from the start.
Failing to test your system before the holidays arrive means discovering problems at the worst time. Test every connection, verify power flow, and check for loose fixtures several days before you need the lights on.
Finally, many people skip proper grounding. Ungrounded systems pose electrical shock risks. Ensure your installation includes proper grounding throughout the entire setup for safety.
Troubleshooting Common Issues
When your permanent outdoor holiday lights don’t work as expected, you need quick solutions. Most problems fall into a few categories that you can fix yourself.
Lights not turning on usually means a power issue. Check that your outlet has power by plugging in another device. Verify your timer or controller is set correctly and has fresh batteries if needed. Look for tripped circuit breakers inside your home. If you’re using an extension cord, make sure it’s rated for outdoor use and plugged into a grounded outlet.
Flickering or dimming lights often signal an overloaded system. Count how many lights you’ve connected to your transformer. If you’re running too many fixtures, the power can’t keep up. Try unplugging some lights to see if the brightness improves. Loose connections also cause flickering, so check every plug and connector for corrosion or moisture.
Water damage or corrosion happens when weatherproofing fails. Inspect all connection points for white or green buildup. Dry everything thoroughly and apply weatherproof sealant to exposed connectors. Never use connectors designed for indoor use outdoors.
Lights falling or coming loose means your attachment method failed. High winds and snow add weight that weak clips can’t handle. Reattach lights using proper outdoor rated hardware. Zip ties alone aren’t enough for permanent installations.
Uneven spacing or misalignment creates an unprofessional look. Remeasure your layout and use a spacing template to correct positions. A level string helps you keep horizontal lines straight.
Dead sections of lights suggest a broken connection somewhere in that line. Unplug that section and inspect the cable for cuts or damage. Test each connector individually to find the problem.
Dimmer switches not working mean your lights aren’t compatible with dimming. Some permanent fixtures don’t support this feature. Check your product specifications before purchasing a dimmer.
Start with the simplest fixes first. Most issues come from loose connections, power problems, or weatherproofing failures rather than broken equipment.
Final Thoughts
Setting up permanent outdoor lights takes effort. But the payoff lasts for years, not just one season.
You save time every holiday. No more climbing ladders every December to hang new strings.
Planning is your best friend here. Take time to measure your space and mark your layout before you install anything.
Weatherproofing matters more than any other factor. Skip this step, and you’ll face problems within months.
Your connectors and fixtures need to handle rain, snow, and temperature swings. Cheap materials fail fast in harsh weather.
Spacing makes the biggest visual difference. Equal gaps between lights create that clean, professional look everyone wants.
Take your time with this step. Rushed spacing looks messy no matter how good your lights are.
Power management keeps your whole system running smoothly. Don’t overload your transformer with too many lights.
Spread your connections across multiple circuits when possible. This prevents flickering and protects your equipment long term.
Testing before the season starts saves you stress later. Turn everything on weeks before you need it.
This gives you time to fix any issues. Nobody wants to troubleshoot lights on a cold night before guests arrive.
Think of this project as an investment. You’re building something that works year after year.
Good installation now means less work later. Your future self will thank you for doing it right.
Take your time with each step. Rushing leads to mistakes that cost more time to fix.
Quality materials and careful planning make all the difference. They turn a stressful yearly chore into a simple flip of a switch.
Your home will look great every season. And you’ll spend more time enjoying the holidays instead of fixing lights.
Frequently Asked Questions
How far should I mount lights from my house wall?
The standard distance is 5 to 10 centimeters. This spacing keeps lights close enough to follow your roofline or trim while still allowing air circulation. Air flow helps prevent moisture buildup behind the fixtures. Measure this distance before you start installing to maintain consistency across your entire setup.
What’s the best way to space lights evenly?
Use a spacing block or template to mark positions before mounting anything. This tool ensures consistent intervals between each light. Even spacing creates a professional appearance and looks intentional rather than random. Mark all positions with a pencil first, then install lights at each mark.
Where should I install weatherproof power outlets?
Place outlets under eaves or in covered areas. This location protects them from direct rain and snow while keeping them accessible. Mount outlets high enough to keep them away from ground moisture and debris. Check that your outlet is rated for outdoor use and weatherproof.
What attachment methods work best for permanent lights?
Gutter clips, zip ties, and weatherproof hardware all work well depending on your setup. Gutter clips grip directly onto your gutter without drilling holes. Zip ties secure lights to existing structures like trim or fascia. Choose hardware rated for outdoor conditions so it won’t rust or degrade. Test each attachment by gently tugging on the light before moving to the next one.
Can I connect too many lights to one power source?
Yes. Overloading your transformer causes dimming, flickering, or system failure. Check your transformer’s wattage rating and add up all your light wattages. Spread connections across multiple circuits when possible to distribute the load evenly.

Dillip started Before You Checkout after one too many disappointing online purchases, and now spends his time researching products across home, tech, fitness, and everyday essentials. He writes straightforward reviews and how-to guides for people who want a clear answer, not a sales pitch.


