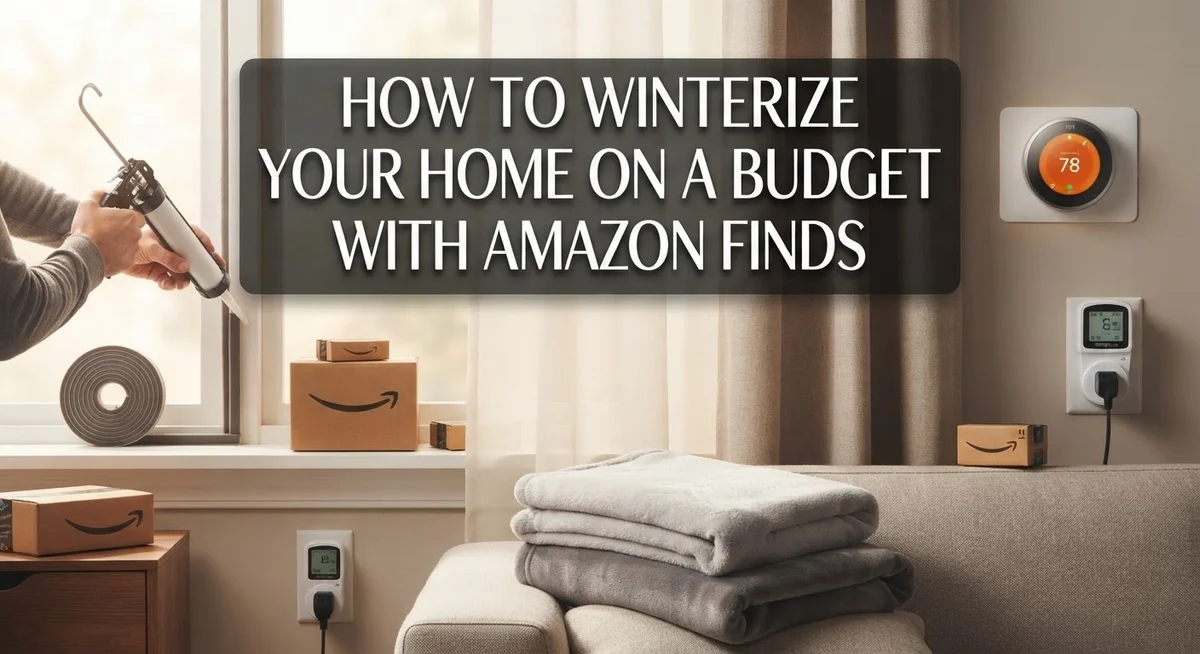
How to Winterize Your Home on a Budget: A Simple DIY Guide
Winter is coming and your heating bill does not need to skyrocket. You can winterize your home without spending a fortune. In fact, you can get the job done for under $50.
Cold air sneaks in through tiny cracks. It slips under doors and around windows. This makes your furnace work harder and your bills climb higher.
The good news? Small fixes make a big difference. Simple tools like weather stripping and caulk seal gaps fast. These budget friendly options fight heat loss without breaking your wallet.
This guide walks you through easy winterizing steps. You will learn how to seal windows and doors properly. We cover furnace checks and filter changes too.
You will also discover tips for insulating pipes and outlets. These steps protect your home from freezing damage. They also boost comfort during cold months.
Ready to save up to 20% on heating costs this winter? Let’s explore practical ways to get your home winter ready. You do not need a big budget to stay warm and cozy all season long.
In a Nutshell
Winterizing your home does not need to cost a lot. A few smart fixes can keep the cold out and the warmth in. Here is a quick summary to guide you.
-
Seal air leaks first. Weather stripping around windows and doors is the cheapest fix. It blocks drafts fast and keeps warm air inside.
-
Check small window leaks. Caulk works great for tiny cracks. It is simple to apply and stops cold air from creeping in.
-
Maintain your furnace. Replace filters regularly. A clean furnace runs efficiently and heats your home better.
-
Insulate outlets and pipes. Foam inserts on exterior wall outlets stop drafts. Pipe insulation prevents freezing and costly damage.
-
Set your thermostat wisely. Small adjustments make a big impact on your heating bill without sacrificing comfort.
-
Empty homes need extra care. Turn off the water supply and drain pipes to avoid frozen pipe disasters.
Following these steps can help you save up to 20% on heating costs this winter. Best part? You can do it all without spending much money.
Why Winterizing Your Home Matters
Winter weather brings real challenges to your home. Cold temperatures force your heating system to work overtime. This means your energy bills climb fast when you are not prepared.
Winterizing protects both your wallet and your home. When you seal air leaks, your furnace does not have to run constantly. You stay warm without wasting energy on heating the outdoors. Most homeowners see savings of up to 20% on heating costs during winter months.
Your pipes face serious danger in freezing weather. Water expands when it freezes, which causes pipes to burst. A burst pipe leads to expensive water damage and repairs. Winterizing prevents this problem before it starts.
Small cracks and gaps add up quickly. Cold air sneaks through tiny openings around windows and doors. These leaks force your heating system to compensate by running longer. Your comfort drops while your bills rise.
Budget winterizing makes sense financially. You do not need to spend hundreds of dollars. Simple fixes cost very little but deliver huge results. Weather stripping, caulk, and foam inserts are all affordable options.
Neglecting winterization creates bigger problems later. Frozen pipes burst and cause flooding. Uninsulated outlets let cold air pour into your home. Your furnace works harder and wears out faster. Emergency repairs during winter cost far more than prevention.
Your home’s value depends on proper maintenance too. A well maintained home stays protected from seasonal damage. Future buyers notice homes that are properly cared for.
Starting winterization now saves you stress and money. You avoid emergency calls to plumbers or HVAC technicians during peak winter season. Your family stays comfortable without guilt about energy waste. The effort you put in today pays off throughout the entire cold season.
Sealing Windows and Doors to Stop Drafts
Drafts around windows and doors are your home’s biggest energy thieves. Cold air sneaks through gaps you cannot even see. Sealing these openings stops heat from escaping and keeps your heating bill lower.
Weather stripping is your first line of defense. This material sticks around window frames and door edges to block air movement. You apply it yourself in minutes without special tools. It works on both sides of doors and around each window.
Start by inspecting all your windows from the inside. Run your hand along the frame edges slowly. You will feel cold air if gaps exist. Mark these spots so you remember them later.
Check your doors next, especially exterior ones. Gaps appear under doors, around the frame, and at corners. These spots let in the most air. Pay special attention to basement doors and garage entries.
Caulk handles smaller cracks that weather stripping cannot reach. Use it for tiny gaps between window frames and walls. Caulk also seals holes where pipes or wires enter your home. These small openings add up to significant heat loss.
Before applying anything, clean the surfaces well. Dirt and dust prevent materials from sticking properly. Dry everything completely too.
Apply weather stripping carefully along the entire perimeter. Press it firmly as you go. Caulk works best when applied in a smooth, continuous line. Let it dry fully before closing windows or doors.
Test your work by feeling for drafts again. Run your hand around sealed areas to confirm they are airtight. You may need to add more material to problem spots.
This task takes a few hours but saves money every single day. Your heating system will not work as hard. Rooms stay warmer without constant temperature fluctuations. You notice the difference immediately when cold weather arrives.
Inspecting and Maintaining Your Furnace
Your furnace works hard all winter to keep your home warm. A well maintained furnace runs efficiently and costs less to operate. Start by locating your furnace in your home, usually in the basement or utility closet.
Check your furnace filter every month during heating season. A dirty filter makes your furnace work harder and wastes energy. Replace the filter when it looks gray or clogged with dust. Most filters slide out easily and new ones fit right back in the same way.
Listen to your furnace for unusual sounds. Banging, rattling, or squealing means something needs attention. These noises often signal loose parts or components that need professional service. Ignoring them can lead to bigger problems and higher repair costs later.
Look at your furnace’s age and condition. Furnaces over 15 years old lose efficiency and may need replacement soon. Younger furnaces usually run better and heat your home more effectively.
Check the area around your furnace for clutter and debris. Keep boxes, tools, and other items away from your unit. Good airflow around the furnace helps it operate safely and efficiently.
Test your thermostat to make sure it works properly. Set it to heat mode and raise the temperature a few degrees. You should hear your furnace kick on within a minute or two. If nothing happens, you may have a thermostat problem that needs fixing.
Make sure your furnace has proper ventilation. Check that intake and exhaust pipes are clear and unblocked. Snow and ice can cover these pipes outside, so clear them regularly during winter.
Schedule professional maintenance before winter arrives if possible. A technician can clean internal parts, check safety controls, and spot problems early. This small investment prevents expensive emergency repairs when you need heat most.
Insulating Outlets, Pipes, and Vulnerable Areas
Outlets and pipes are two areas where heat escapes and damage happens fast. Both need your attention before winter arrives. Foam outlet inserts are simple tools that block cold air from flowing into your walls through electrical outlets. These fit directly into standard wall outlets on exterior walls, where outside air pressure pushes cold air inside.
Start by identifying which outlets sit on your home’s outer walls. Feel around each outlet with your hand to detect drafts. Mark these spots so you remember them later. The installation process takes seconds per outlet. You simply insert the foam piece into the outlet opening. No tools needed. No permanent changes to your walls.
Pipes freeze when temperatures drop below 32 degrees Fahrenheit. Frozen pipes burst and cause expensive water damage. Pipe insulation prevents this problem entirely. Wrap exposed pipes in your basement, attic, or crawl space with foam tubing. These tubes slide over your pipes like a sleeve. Cut them to length with a utility knife. Seal the seams with tape to prevent heat loss.
Pay special attention to pipes near exterior walls and unheated spaces. Bathroom and kitchen pipes are common freeze zones. Check under sinks and in crawl spaces carefully. Even short sections of exposed pipe need protection.
For vacant homes, take a different approach. Turn off your main water supply valve. Open all faucets to drain remaining water from the pipes. This prevents ice from forming inside the lines entirely. Leave cabinet doors under sinks open so warm air reaches pipes.
These two steps combined cost very little but prevent thousands in damage. Outlet inserts and pipe insulation work together to seal your home’s weak points. Your heating system runs more efficiently. Your pipes stay safe. Your budget stays under fifty dollars total.
Preparing Vacant or Seasonal Homes for Winter
When you’re closing up a seasonal home or leaving a property vacant for winter, you need a different game plan than occupied homes. The main goal is preventing damage from freezing pipes and keeping the structure safe while nobody is there.
Start by turning off your water supply. Find the main shut off valve, usually near the foundation or in the basement. Turn it clockwise until it stops. This single step prevents burst pipes that could cost thousands to repair.
After shutting off the water, you must drain all the pipes. Open every faucet in your home, starting from the highest level and working downward. Let water run until nothing comes out. Don’t forget outdoor spigots and low points in your plumbing system.
Empty all drains completely. Pour a cup of antifreeze down each drain to protect the P traps from freezing. This includes sinks, showers, toilets, and floor drains. The antifreeze creates a protective barrier against ice formation.
Set your thermostat to a low but safe temperature, usually around 50 to 55 degrees Fahrenheit. This keeps the interior warm enough to prevent freezing without wasting energy. Check that your heating system will run automatically if temperatures drop further.
Close interior doors to unheated spaces like garages or crawlspaces. This concentrates warmth where pipes are located. Open cabinet doors under sinks to allow warm air to circulate around pipes.
Consider leaving a small light on in the basement or crawlspace. The heat from a bulb can help prevent freezing in tight areas.
Check your home every few weeks if possible, or ask a neighbor to peek inside. Look for signs of water damage, unusual odors, or heating system problems. Early detection saves money and prevents major disasters during the cold months ahead.
Optimizing Your Thermostat and Heating Strategy
Your thermostat is one of the most powerful tools for cutting heating costs this winter. Proper settings can save you up to 20% on your heating bills without sacrificing comfort or safety.
Start by understanding what temperature works best for your household. Most experts suggest keeping your home at 68 to 70 degrees Fahrenheit during the day when people are home. At night or when everyone leaves, lower it to 62 to 66 degrees. This simple shift reduces the workload on your heating system significantly.
Programmable thermostats make this process automatic. You set different temperatures for different times of day, and the system handles the rest. If you have a manual thermostat, just remember to adjust it twice daily. It takes 10 seconds but saves real money over three months of winter.
Check your thermostat’s location in your home. Thermostats placed near outside walls, windows, or drafty areas give false readings. They sense cold spots and trigger your furnace to work harder than necessary. Move it away from these problem areas if possible, or block drafts around it with temporary barriers.
Test your thermostat before winter arrives. Set it to heat mode and raise the temperature a few degrees. You should hear your furnace kick on within a minute or two. If nothing happens, you have time to get it repaired before the cold hits.
Layering your heating strategy makes the biggest difference. Combine smart thermostat settings with weather stripping, insulation, and furnace maintenance. Each step alone helps a little. Together, they create a system that keeps your home warm while spending far less on energy.
Remember that consistency matters more than perfection. Stick to your temperature schedule, and you will see results on your next heating bill.
Common Winterizing Mistakes to Avoid
Many homeowners make simple mistakes that cost them money during winter. These errors are easy to fix once you know what to avoid.
Neglecting exterior inspection is the first major mistake. Most people focus only on the inside of their home. They forget to check outside walls, roof edges, and foundation areas where cold air sneaks in. Walk around your home on a calm day. Feel for drafts near windows and doors. Look for visible cracks in the foundation or gaps around pipes. Small openings add up to big heating bills.
Ignoring small window leaks wastes significant energy. You might think minor gaps don’t matter. They do. Cold air enters through tiny spaces around window frames and sills. These leaks are cheaper to seal than you think. Inspect every window, even ones you rarely open. Check the corners and edges carefully.
Setting your thermostat too high defeats your budget. Many people crank up heat to maximum temperature. Your heating system works harder than necessary. This increases your energy costs dramatically. A moderate setting keeps you comfortable while saving money.
Skipping furnace maintenance creates major problems. A dirty filter reduces efficiency and can cause breakdowns. Check your furnace filter before winter starts. A clean filter helps your system run smoothly. Replace it if it looks clogged or dusty.
Forgetting about air leaks around doors lets warm air escape. Check door frames and thresholds. Gaps here are common and easy to miss. Seal them with simple materials.
Leaving windows uncovered at night wastes heat. Bare windows allow warmth to escape through glass. Close curtains or blinds after dark to trap heat inside.
Heating empty rooms wastes money unnecessarily. Close doors to unused spaces. This keeps heat where you need it most.
These mistakes are preventable. A quick inspection catches most problems before winter arrives.
Final Thoughts
Winterizing your home does not need a big budget. Small steps make a real difference.
Simple tools like weather stripping and caulk seal air leaks fast. These fixes cost little but save a lot on heating bills.
You can cut heating costs by up to 20% just by sealing gaps and adding insulation. That’s a huge return for a small investment.
Think about your whole home, not just one room. Check windows, doors, pipes, and your furnace. Each area plays a part in keeping warmth inside.
Consistency matters more than perfection. You don’t need to fix everything at once. Start with the cheapest options first, like weather stripping.
Then move to caulking small leaks around windows. After that, check your furnace filter and swap it if needed.
If you have a vacant home, follow the extra steps for shutting off water and draining pipes. This protects your property from costly damage.
Your thermostat settings tie everything together. Combine smart temperature choices with proper sealing for the best results.
Avoid the common mistakes we covered earlier. They waste money and energy without giving you any benefit.
Winter prep works best when you treat it as a system. Each small fix supports the others.
Budget winterizing proves that smart choices beat big spending. You do not need expensive renovations to stay warm.
Focus on the basics first. Air sealing, insulation, and proper maintenance go a long way.
With just a bit of planning, you can protect your home and your wallet this winter. Small changes today lead to real savings tomorrow.
Take action now before the cold weather hits. Your future self will thank you for the effort.
Frequently Asked Questions
What’s the cheapest way to winterize my home?
Weather stripping is your best starting point. It costs around $7 and seals gaps around windows and doors where warm air escapes. This single step can reduce heating costs significantly. You apply it yourself in minutes without tools or special skills.
After weather stripping, caulk smaller window leaks. Both items together stay well under your $50 budget. These two steps address the biggest energy wasters in most homes.
How much money can I actually save on heating bills?
You can reduce heating costs by up to 20% through air sealing and insulation. The exact amount depends on your current home condition and climate. Homes with many air leaks see savings faster than well sealed homes.
Start with weather stripping and caulking. Track your heating bills before and after winterization. This helps you see real savings in your specific situation.
Should I winterize a vacant home differently?
Yes, vacant homes need extra steps. Turn off your main water supply first. Then drain all pipes to prevent freezing damage and burst pipes.
Leave cabinet doors open under sinks so warm air reaches pipes. You can still apply weather stripping and caulk to reduce heating costs. Focus on preventing water damage rather than comfort in empty spaces.
What winterization step should I do first?
Start with an exterior inspection. Look for visible cracks, gaps, and damaged areas around your home. Check windows, doors, and foundation lines carefully.
Once you identify problem areas, apply weather stripping first. It’s cheap, fast, and delivers immediate results. This gives you momentum to tackle other steps like caulking and filter replacement.

Dillip started Before You Checkout after one too many disappointing online purchases, and now spends his time researching products across home, tech, fitness, and everyday essentials. He writes straightforward reviews and how-to guides for people who want a clear answer, not a sales pitch.